
Got Mylk?


If someone told a few years ago I’d be making my own nut milk, I’d totally roll my eyes and laugh! The concept of making your own “mylk” brings two immediate assumptions to mind: way too time consuming and way too complicated. Especially when you can simply buy one of the dozens ready made options at the supermarket. That is, until you actually try to make it and realize how simple and quick it is- easier than most of the stuff we’re already preparing in the kitchen! And the taste?! Pure liquid gold. I was at a friends house when I tried my first homemade almond milk and OMG what a difference! Store bought isn’t even a close comparison and will never taste the same. Not to mention that home made also doesn’t come with the myriad of added preservatives and toxins that most store-bought nut milks contain such as gums, emulsifiers (lecithin and carrageenan), sugar, too much sodium, harmful synthetic versions of Vitamins such as Vit A Palmitate-just to name a few! If you haven’t tasted a freshly made nut milk, I urge you to try just once and you will see how much more delicious it really is! The process is, like I said, SO EASY that It’ll quickly become a household staple (just follow my step by step instructions below).
Almonds, Cashews, Macadamia, Hazelnut, Walnut, and Peanuts are all great choices, each with their own distinct taste and nutrient rich profile. My personal go to is Almond milk simply because I love the taste and it’s the most diet-friendly (lower in total fat, calories, and carbs) but still packed with the nut’s natural minerals and vitamins like calcium, iron, and Vitamin B6. Another household favorite is cashew milk, which has a very similar nutritional profile to almond milk, and even EASIER to make (No milk bag straining required with Cashews!).
Follow these simple step by step instructions to make fresh Almond Mylk in under 10 minutes:
1. Soak 2-3 cups of raw almonds with the skin on overnight at room temp (pour water to fully emerge almonds and put lid on glass container).
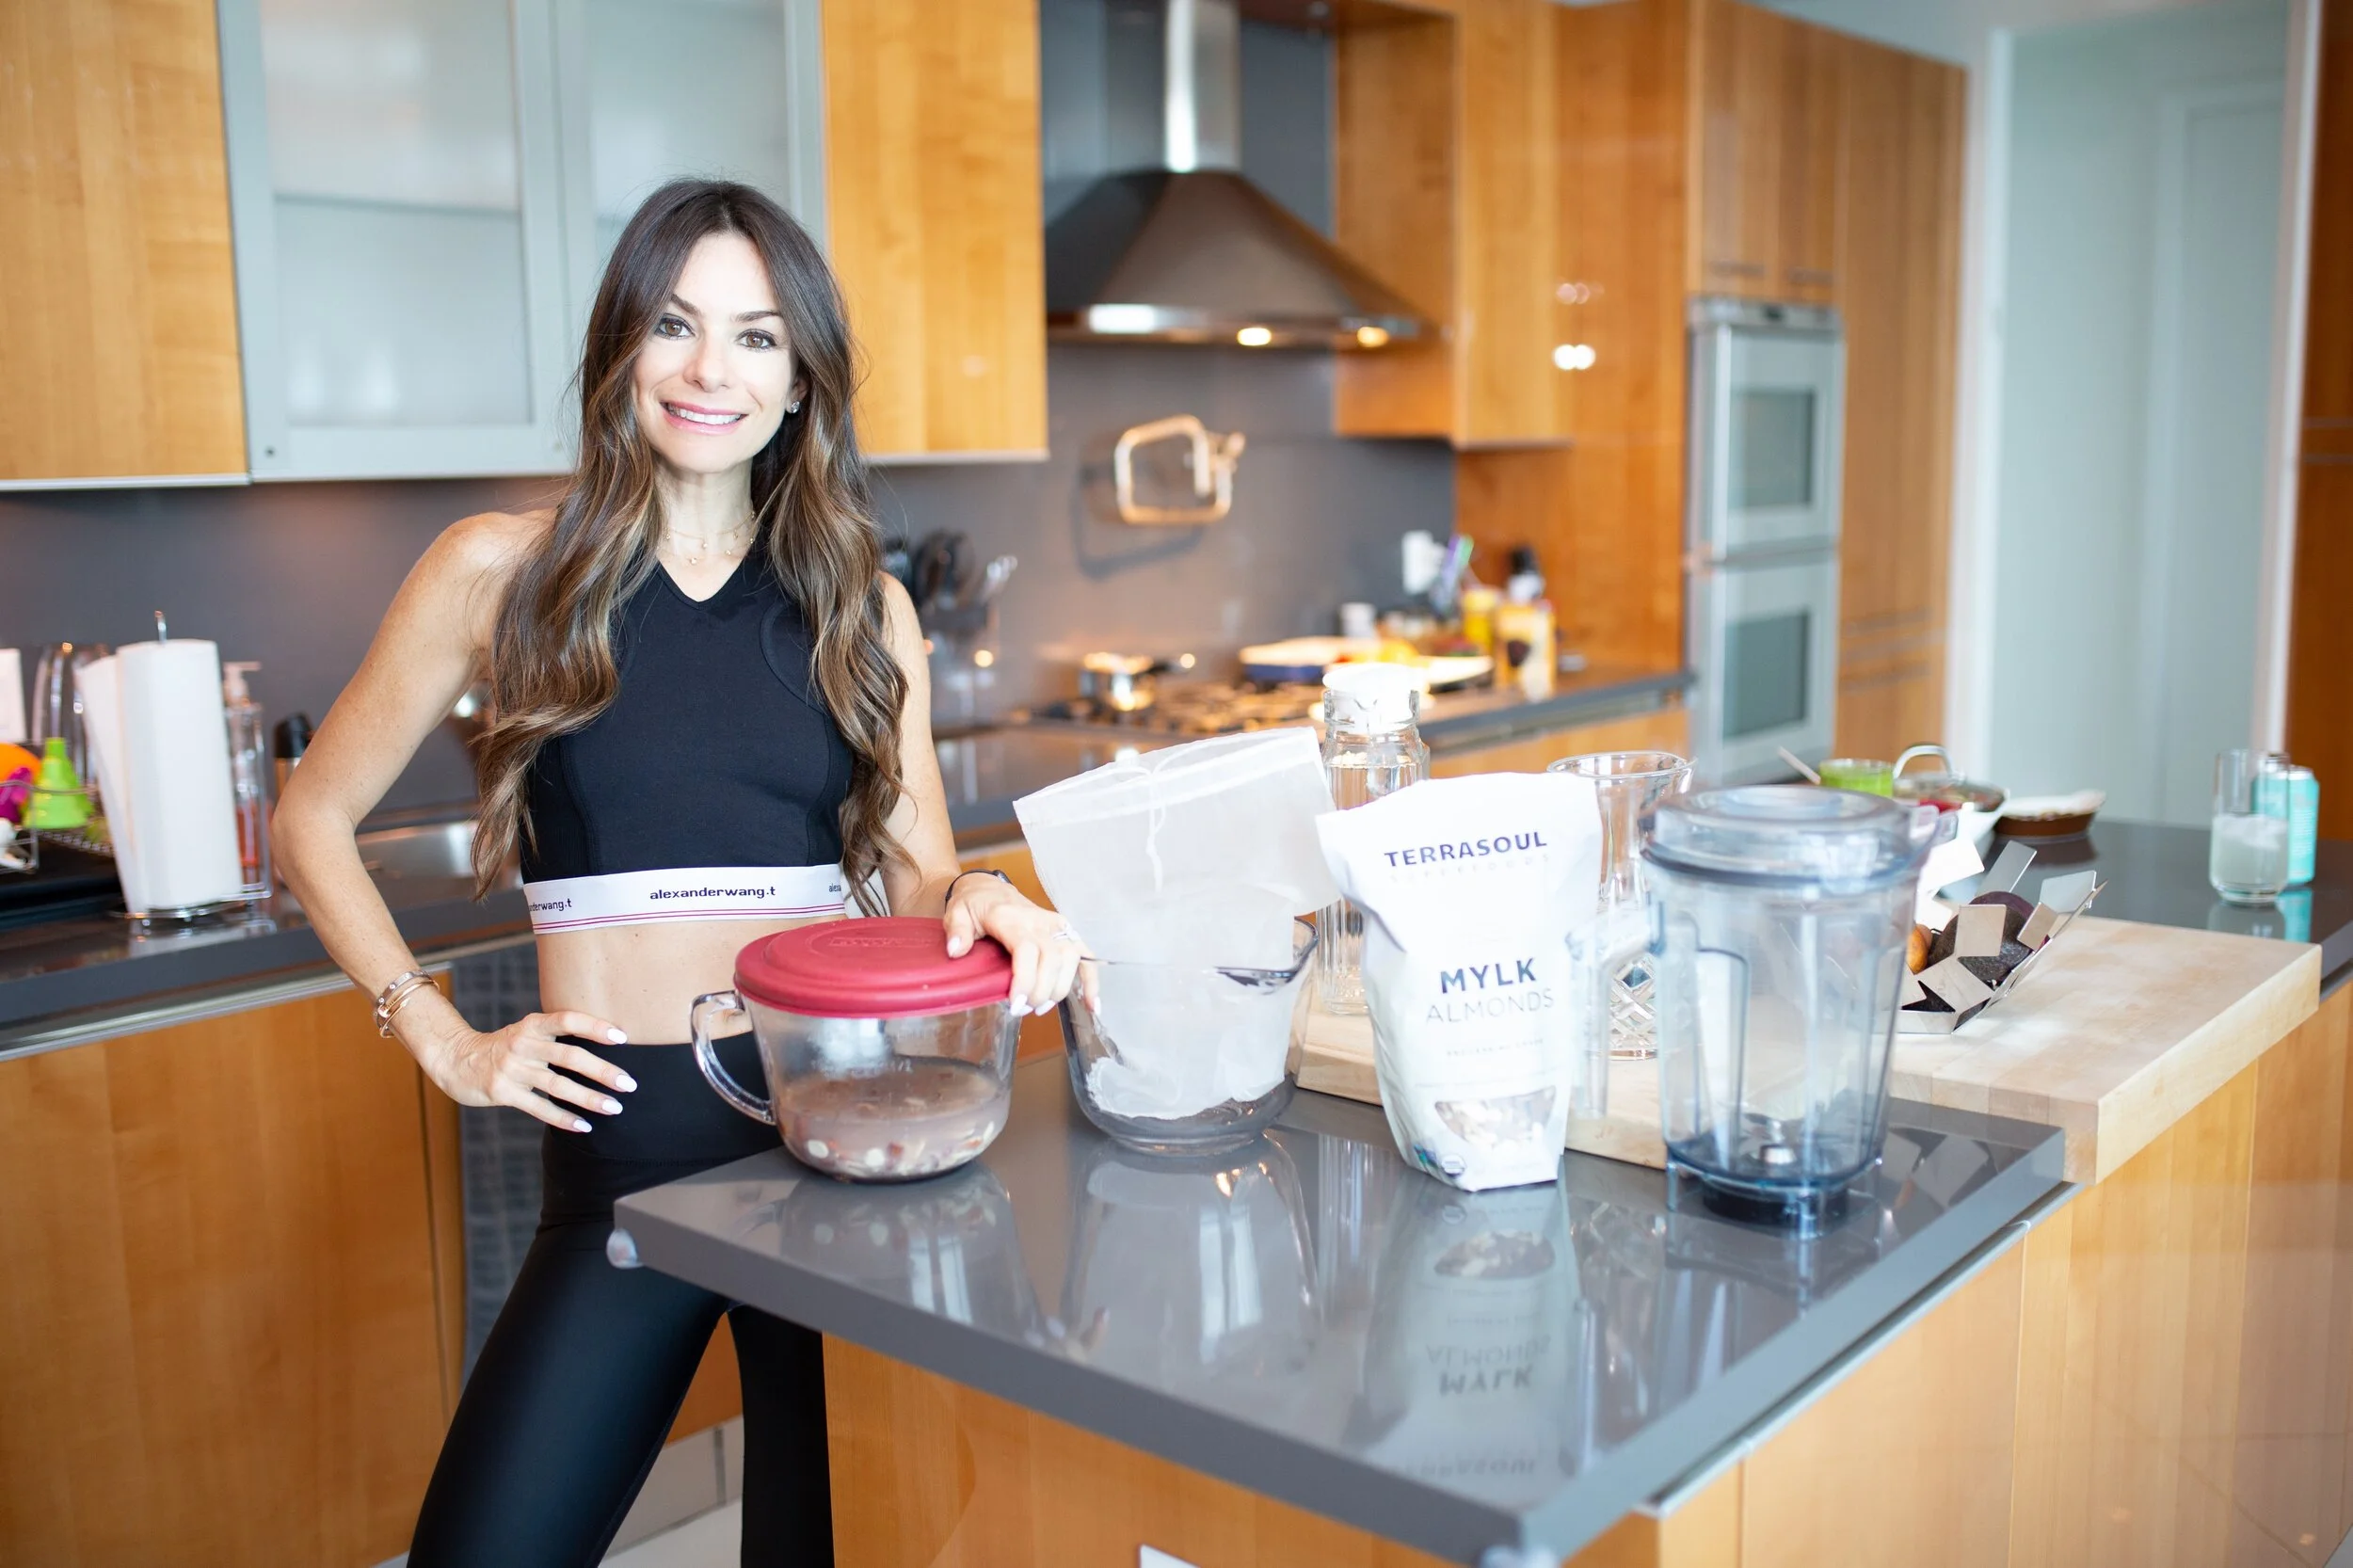
2. Strain and rinse almonds.
3. Place rinsed almonds into a high speed pitcher. Add approx 1.5 cups water per 1 cup almonds. Use less water for thicker milk; more water for thinner milk, depending on your taste preference.
4. Add pinch of Real Salt
5. Optional Flavor add-ins: 1/2 teaspoon of cinnamon, 1/2 teaspoon vanilla extract, or 1 teaspoon of cacao powder for a chocolate milk treat. (A great chocolate milk alternative for the kids!). If you want it extra sweet, 1 tsp of maple syrup works well too. I personally only use the cinnamon but you can use any or all based on taste preference.
6. Start blender low and gradually bring to highest power (45 seconds).
7. Hold the mesh nut bag over empty glass bowl and pour small portion of the milk into mesh bag. Squeeze the bag to strain all milk out. Remove leftover almond pulp inside the nut bag and place to the side. Repeat until you've gone through all the milk. (If only using 2 cups almonds, you can strain them all at once).
8. Transfer your delicious fresh almond milk to a glass milk container and cover it. My milk usually stays fresh for up to 6 days. Keep in the back of a refrigerator shelf instead of the fridge door for optimal storage. As for the almond pulp leftover.... it makes for a fantastic body scrub!
For an even easier and faster process, make Cashew Mylk:
1.Soak 1 cup raw cashews in HOT water for 30 minutes (cashews should be full emerged). You can also soak them overnight at room temperature.
2. Drain water and transfer cashews to high speed blender.
3. Add 3 cups water.
4. Add 1/4 teaspoon sea salt
5. Optional flavor add ins: 1/4 tsp cinnamon, 1 tsp vanilla extract, 2 pitted Medjool dates. (I like to add them all in!).
6. Blend altogether until smooth and frothy (start at low speed and move to highest power approx. 40 secs). Transfer to glass container with lid. No nut milk bag straining required!!!
**for thinner milk, use extra 1/2 cup water when blending.
**Keep in the back of a refrigerator shelf instead of the fridge door for optimal storage.